Home Studio Setup: Building a Professional Recording Space on Any Budget
Transform any room into a functional recording studio. This guide covers acoustic treatment, essential equipment, room optimization, and budget-friendly solutio
Anúncios
Creating Your Home Studio
The home studio has become the epicenter of modern music creation. Grammy-winning albums have been produced in bedrooms, closets, and garages. With thoughtful planning and smart equipment choices, you can build a recording space that delivers professional results without breaking the bank. The key is understanding which investments matter most and where you can save without compromising quality.
Anúncios
Acoustic Treatment Essentials
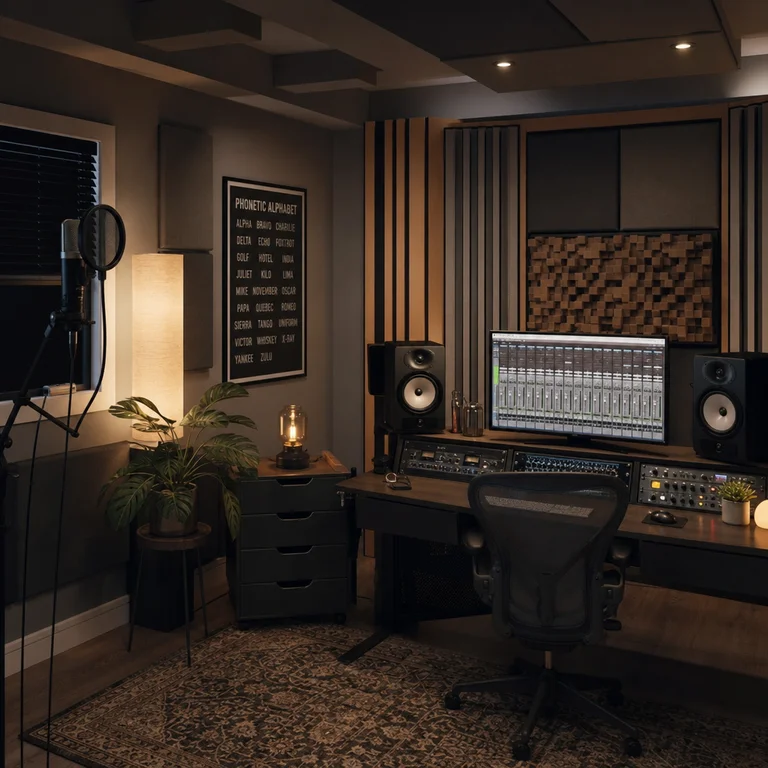
The single most impactful improvement you can make to any recording space is acoustic treatment. Untreated rooms produce reflections, standing waves, and frequency buildups that color your sound and make accurate mixing nearly impossible. Start with absorption panels at the first reflection points — the spots on walls and ceiling where sound bounces directly from your monitors to your listening position. Bass traps in corners address low-frequency buildup, the most common problem in small rooms.
- Absorption panels: Rockwool or fiberglass panels at 2-4 inches thick for first reflection points
- Bass traps: Corner-mounted panels, thicker than wall panels, to control low-frequency resonance
- Diffusion: Scatter panels on the rear wall to maintain natural ambience without harsh reflections
- DIY option: Rigid fiberglass insulation wrapped in breathable fabric is highly effective and affordable
Budget Tiers for Home Studios
Budget Tier: Under $500
Mid-Range Tier: $500 to $2,000
Professional Tier: $2,000 to $5,000
Room Optimization Tips
Position your monitors in an equilateral triangle with your listening position, angled inward at approximately 30 degrees. Keep monitors away from walls to reduce bass reinforcement. If possible, work in a room with asymmetric dimensions to minimize standing waves. Position your desk along the shorter wall with monitors firing down the length of the room. These simple adjustments can dramatically improve the accuracy of what you hear, which directly improves the quality of your mixes.
Remember that your room is the most important piece of equipment in your studio. A modest microphone in a well-treated room will consistently outperform an expensive microphone in an untreated space. Prioritize your environment first, then upgrade your gear as your skills and budget grow.